So, you’ve decided it’s time to uninstallValorant. Whether it’s to free up space or because the grind to increase your rank has made the game a stressful experience—trust me, I’ve been there—taking a break can be a good idea. Whatever your reason, we’ve got you covered. Thisguidewill walk you through every step to ensure Valorant is completely removed from your PC.
Prerequisites before Uninstalling
Before you uninstall Valorant, there are a few things you need to keep in mind:
Uninstall Valorant Completely
Alright, it’s time for the main event. Follow these steps to remove all Valorant files from your Windows 11 or 10 system.
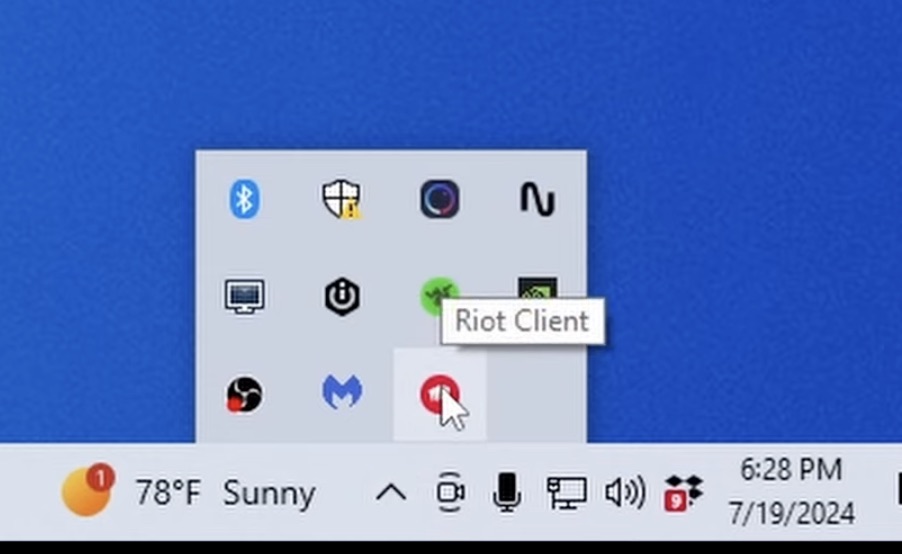
Step 1: Disable and Uninstall Vanguard
If you’re on Windows (which you probably are), you first need to uninstall Riot Vanguard. For the uninitiated, Riot Vanguard is the anti-cheat software the game uses to keep hackers at bay. It operates at the system level and even runs when you’re not playing.
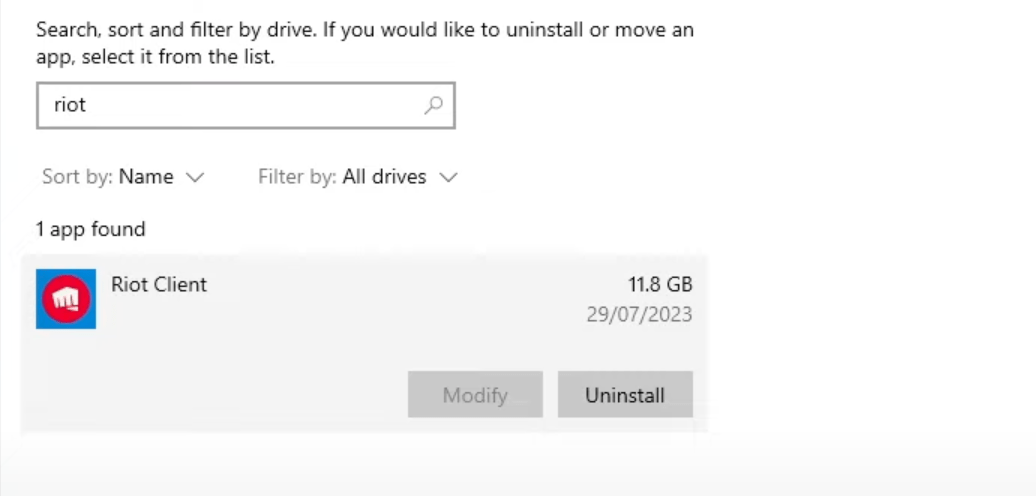
Step 2: Uninstall Valorant
While there are multiple ways to uninstall Valorant, the easiest method is through Windows Settings. Here’s how:
Step 3: Uninstall leftover files
Even after uninstalling, some leftover files may still take up unnecessary space and cause issues if you decide to reinstall the game later. To remove them:
Frequently Asked Questions (FAQs)
Yes! Your game progress is saved on Riot’s servers, not on your local machine. you may reinstall the game without worrying about losing your rank or unlocks.
If you’re having trouble uninstalling Valorant, try restarting your PC and following the steps again.